

Recently I bought some lovely prints with the profit I made from selling my very own prints on my Etsy Shop. I wanted to mount them up to look really nice, and thought it’d be useful to share the process on how to do it. So here’s a step by step guide on how to mount and frame a picture.
Things you’ll need:
1) A picture frame & print (obviously)
2) A sheet of thick card for the mount
3) A craft knife and metal ruler
4) Masking tape
5) A pencil
Before you start
Before you start to mount the picture, you’re going to need to pick a frame for your print.
In the images here I was mounting an 9″ x 11″ print. So I bought an 11″ x 13″ frame that was an inch wider all the way around to give an even border. But you don’t always have to make it even, often fine art prints are mounted with a mount that’s a little thicker on the bottom. Decide what’s going to look best with your print.
Cutting out the mount for your print
For the card I bought a sheet of white card from my local art shop, it’s about 1.5mm thick. It had an “ice white” side and a slightly cream coloured back, so be sure to make sure you cut it the right way around.


Step 1: Cut the card to match the size of the frame, the simplest way to do this is to just use the wood from the back of the frame to make a template, draw around it and cut it out.
Step 2: Lay your print out on the rectangle of card you’ve cut and measure to see where you’d like your print to sit. As I mentioned above, for me in this example I wanted a standard 1 inch border all around.
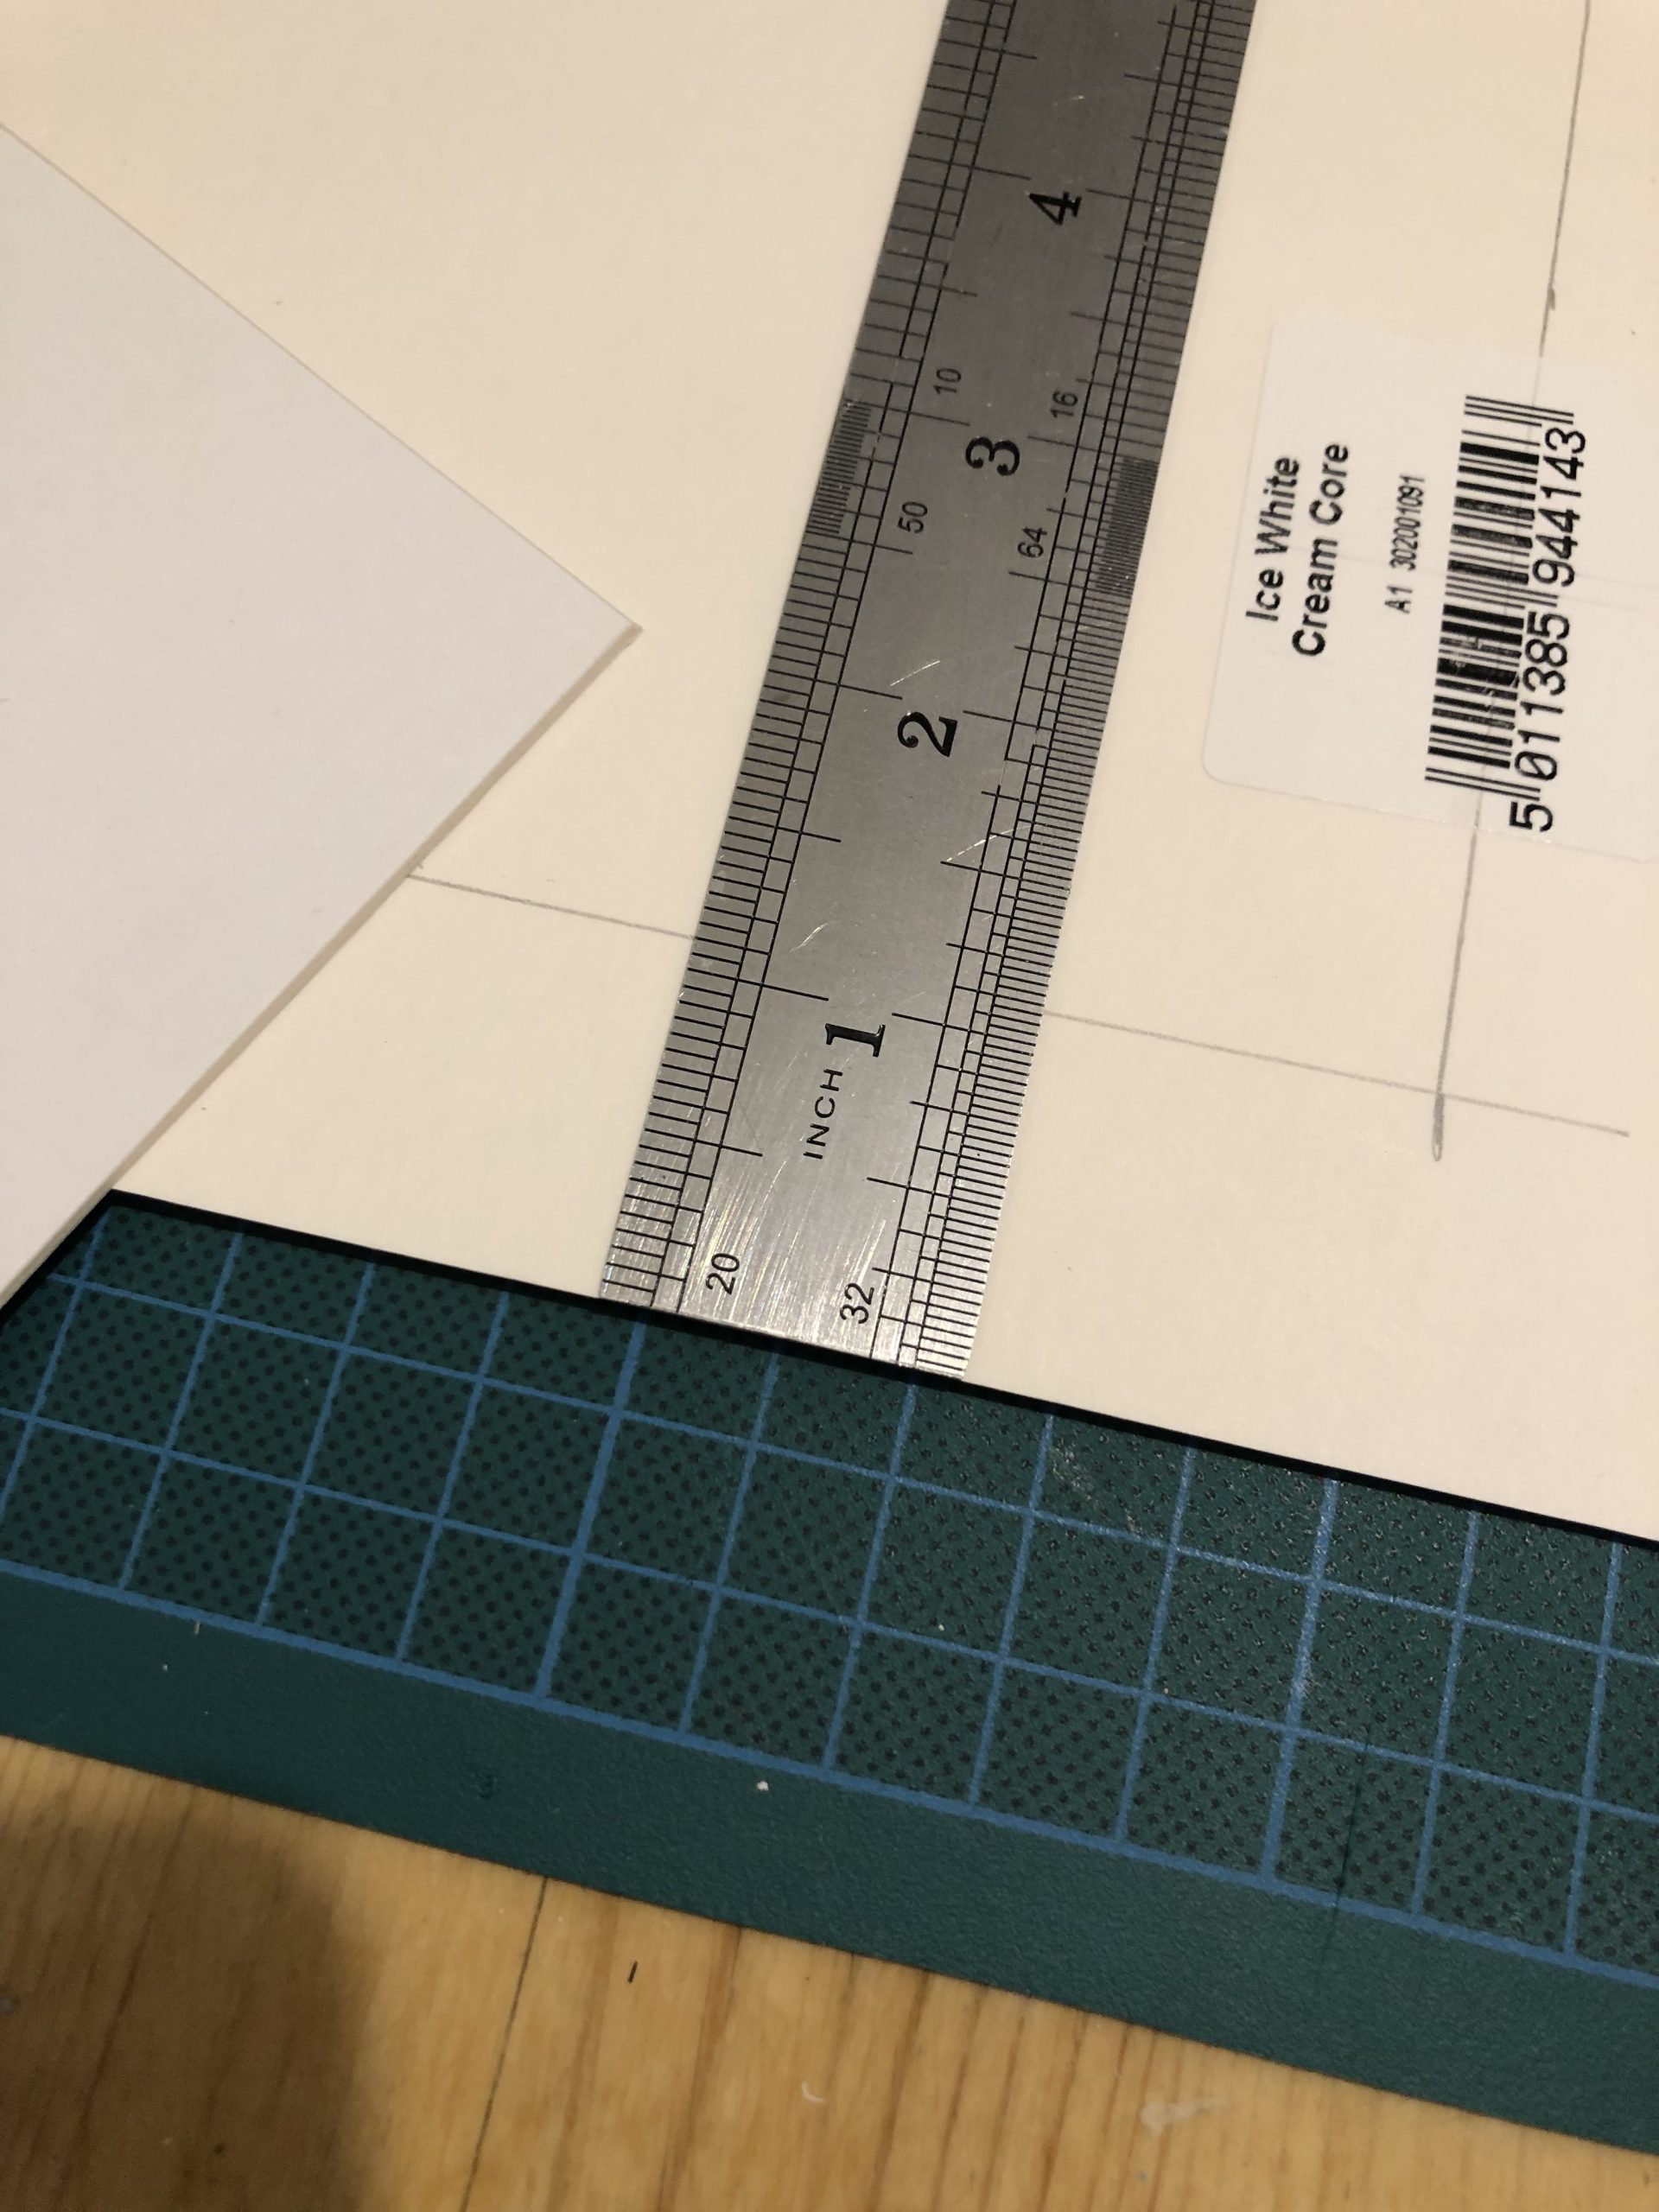


Step 3: Next draw out a rectangle on the back of the card, slightly smaller than the size of your print so that there will be a little overlap. I measured a 1.2 inch border all around, that’s quite slim, you might want slightly more. Draw it on the back so that there’s not unsightly pencil marks on the front when you’re finished.
Step 4: Using your craft knife and a steel ruler, cut out along your lines. As you can see in the pictures I cut it from the back, at a slight angle, this means that when the mount is reversed back to normal there’s a slight bevel on the edge. You don’t have to do this, but it looks much more professional. Remember before you cut to ensure your knife is really nice and sharp, so use a fresh blade, or snap off the end of the blade to sharpen it if you’re using one like mine in the picture.
Framing your picture in your mount


Step 5: Now to attach your print. Lay the print on the back of the mount, and if you’ve measured and cut correctly there should be a slight overlap of a few millimetres. Line it up neatly and then fix in place using masking tape. This will make sure the print won’t slip when it’s in the frame and the edges will all line up neatly.
Step 6: Flip it over and pop the whole thing in your frame and admire the beautiful mounted framed print you now have.

Step 7: Time to decide what to frame next? I’d suggest one of my lovely illustrations from my Etsy shop here.